More about the installer process and getting started:
The installer will install three pieces of software on your computer:
- SDRconnect – the latest version
- A firmware update tool for the nRSP-ST
- An administrator tool for the nRSP-ST
On Linux the updater will be called NRSPUpdater and installed into your SDRconnect installation folder
On Mac the updater will have been installed to your Applications folder
On Windows the updater is automatically started by the installation process – however when you need to run the updater again , you can find it on the Windows start menu.
We recommend the FIRST thing to do is to plug in the nRSP-ST to your network via an ethernet cable. You must use ethernet as Wifi will not initially be enabled on the nRSP-ST. Once you have the network cable connected, plug in the power. There are two other ports on the device marked USB and Flash. Please ensure that nothing is plugged into either of these ports.
Once the nRSP-ST has powered up, the updater will try to find the nRSP-ST on your network and if it does, it will automatically update the firmware.
We recommend that if at all possible, you run the updater on a computer that is also connected to your network via ethernet rather than WiFi. This will help ensure that the firmware update process runs without any glitches. Some older WiFi access points can have problems with UDP broadcasts used for auto-discovery and can cause the firmware update process to fail. This won’t cause a problem for the nRSP-ST even if the firmware update fails, but it may mean that you have to run the update process again from a fully wired network.
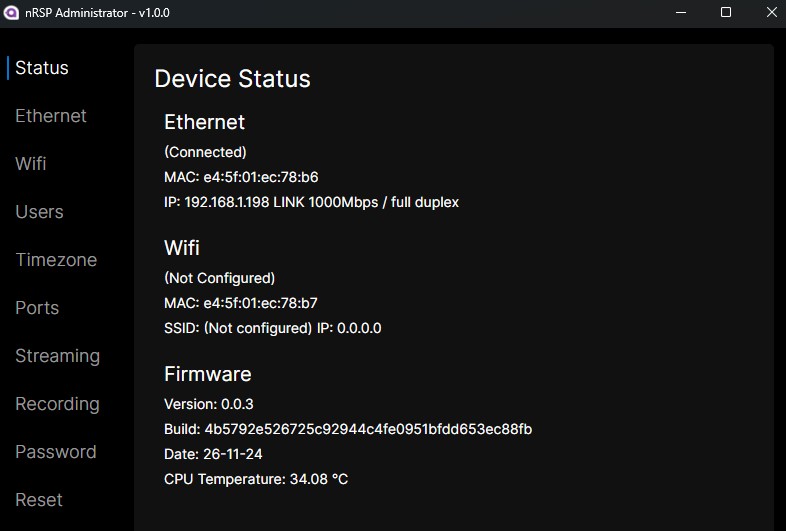
When you run the administrator tool , a panel will open up giving you access to a range of settings for the unit, such as the ability to enable the WiFi, set up user accounts for remote access and also change the administrator password.

The default administrator password is the device serial number which you will find on the box the device was delivered in, and also on the label on the underside of the unit. (Letters should be all upper case)
You should be able to start SDRconnect and your nRSP-ST should automatically appear in the device list via the auto-discovery process.
In addition, you should be able to open up a web browser and access the device by entering nRSP[serial_number]:9001 so for example, if your serial number is 230504500A0 then you would enter:
nRSP230504500A0:9001
Alternatively, the administrator tool will tell you the IP address of their unit on your network, so you can just type in: 192.168.xxx.xxx:9001 where 192.168.xxx.xxx is the IP address of the unit as shown in the administrator tool.
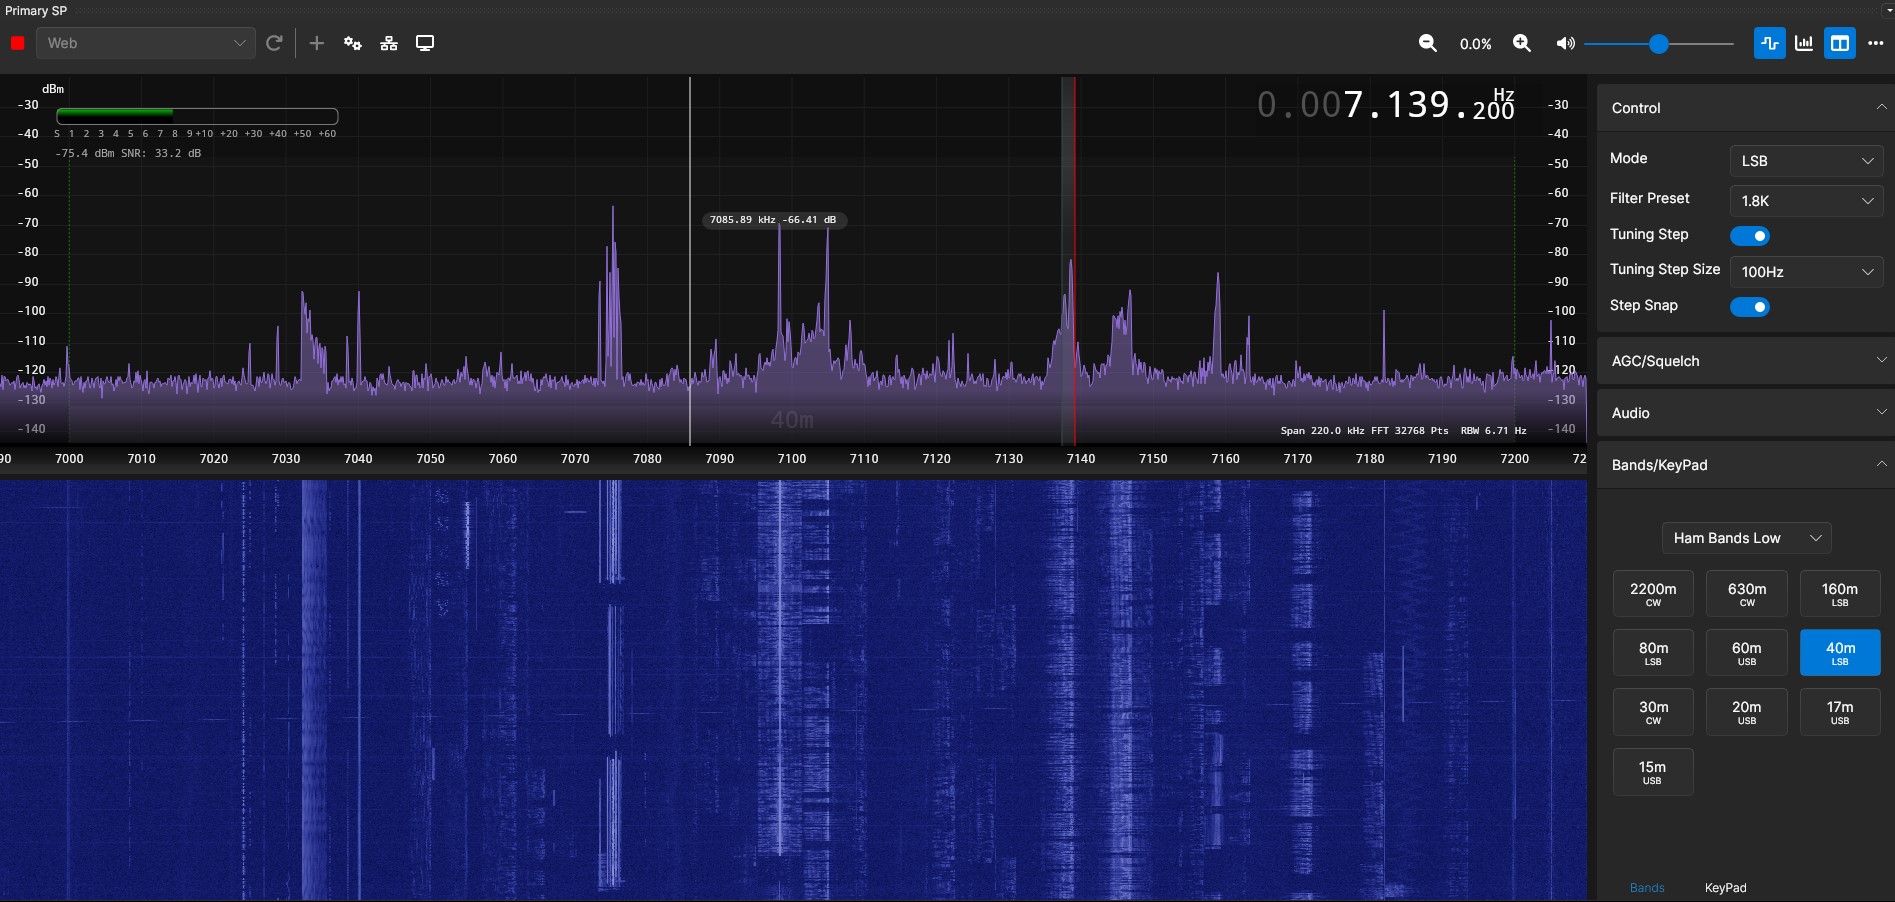
The web page version of SDRconnect is a simplified version of the main SDRconnect application. This is because we anticipate people using smaller screen Android or iOS devices such as tablets for remote web access and a simplified screen makes it easier to use on these smaller touch screen devices. If you have a laptop, you can still use the main version of SDRconnect to connect remotely to your unit.

All the main nRSP-ST functions should be present apart from direct recording to a NAS using the server. This feature is almost complete and will be added over the next few days.
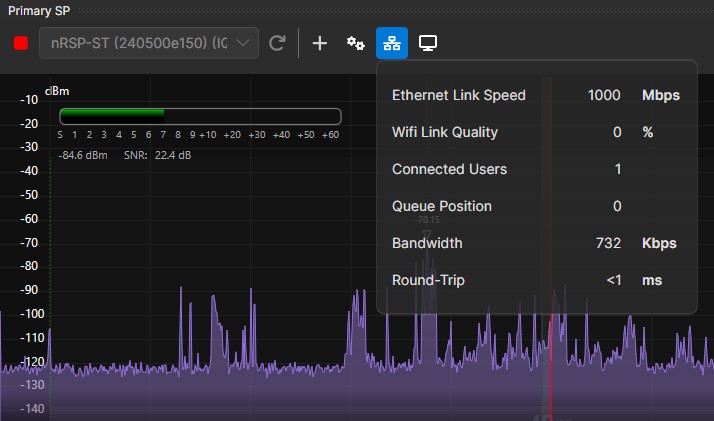
In SDRconnect itself, you will see a new button that is active when using the nRSP-ST. This gives information about the type and speed of the network connection between the nRSP-ST and your LAN. It will NOT provide diagnostics of the network connection between the LAN and the client device, but it will tell you whether your nRSP-ST is connected to your LAN via WiFi or ethernet and also what the speed of that link is. This might be a useful tool if someone has used an old 10/100 switch or cable to connect to their nRSP-ST.

Remote access over the internet: To make your device accessible outside your own local network you will need to consult your router’s port-forwarding instructions: https://www.wikihow.com/Set-Up-Port-Forwarding-on-a-Router
